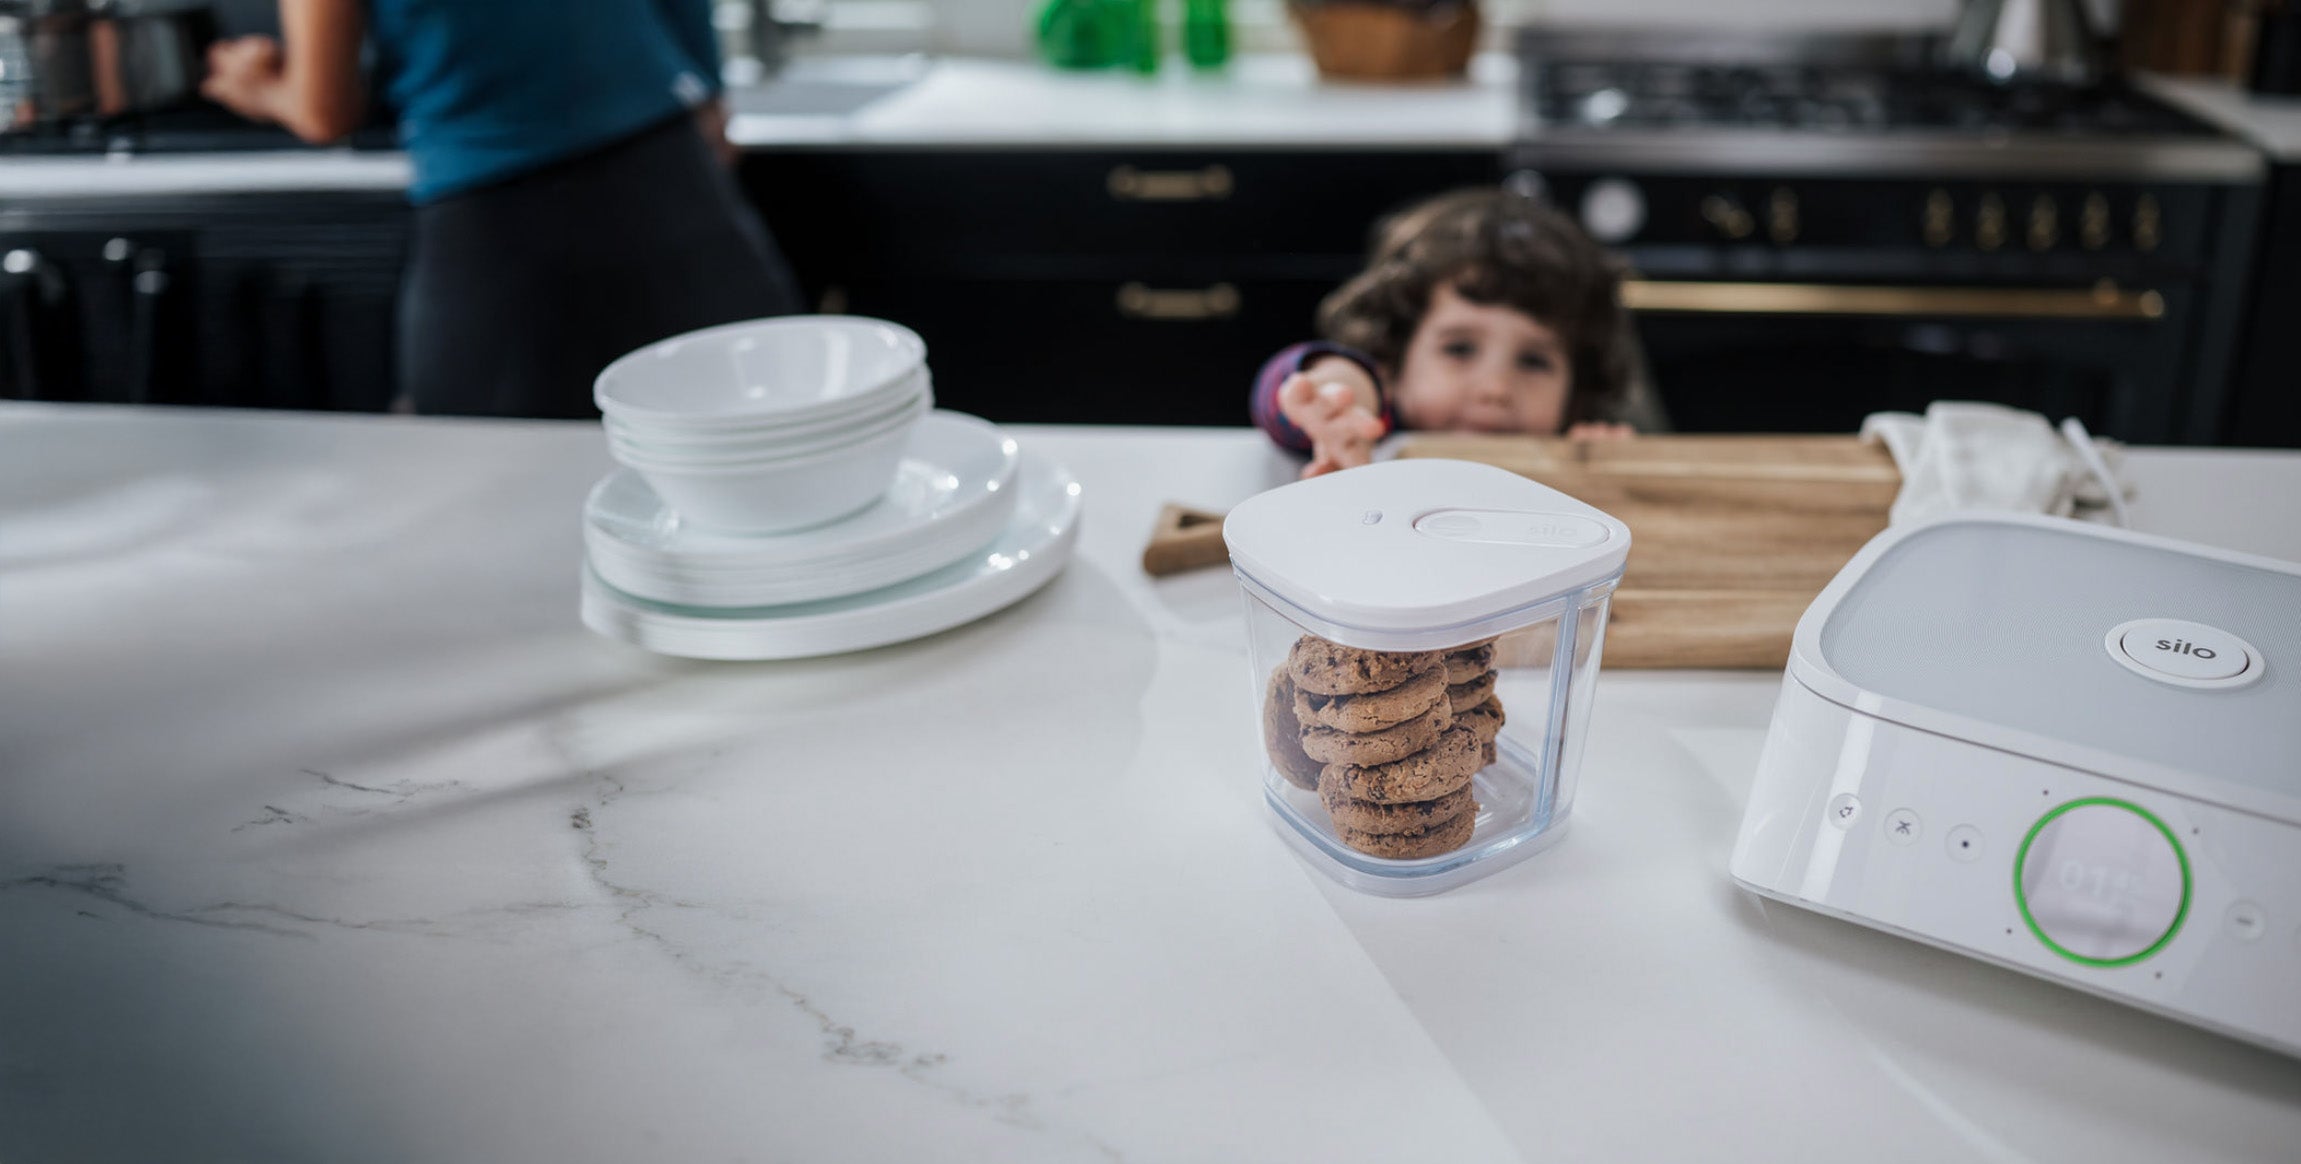
Setting Up Silo
If you're setting up your Silo for the first time or after a factory reset, you're in the right place. Follow the steps below to connect your device and get things rolling.
Having trouble with the setup?
Check out our Setup Troubleshooting Guide for solutions to common setup issues.
Setting up your device with an existing Silo account?
Follow these steps as if you were starting from scratch.
Connecting Your Silo Device
To power on your Silo, follow these steps:
-
Plug the power cord into the slot on the back of your Silo. You can orient the cord to either the right or left, depending on your kitchen setup.

Use the groove to keep the cord neat and out of the way.
-
Press the cord into the groove to keep things tidy on your countertop.
-
Connect your Silo to a wall outlet. Once it’s plugged in, Silo will light up, letting you know it’s ready to go.
Note: Double-check that your Silo’s voltage matches your local electrical outlet.
Download the Silo App
Next, install the Silo app on your smartphone to manage your containers and keep track of freshness.
-
Download the Silo app from:
- The App Store (iPhone users)
- Google Play (Android users)
(Or simply scan the QR code below for quick access!)

-
Make sure your phone’s Wi-Fi is enabled and handy - you’ll need the network and password during setup.
-
Open the app and follow the on-screen instructions to complete your Silo setup.
Your Silo is already set up? Select the “Sign In” button when launching the app to jump back to your inventory.
Setting up the Silo Device
After connecting the power and downloading the app, follow these steps to complete your device setup:
1. Connect Your Smartphone to Silo
To pair your smartphone with Silo, follow these steps based on your device type:
For iPhone (iOS) users:
- When asked, open your phone settings.
- Go to Wi-Fi settings and look for a network named Silo_XXXX.
- Tap to connect to the Silo network, then return to the Silo app to continue.
For Android users:
- The connection is automatic. Your phone will look for the device and connect to it without manual Wi-Fi selection.
- Once your phone connects to the Silo device, continue with the setup in the app.
Be sure to grant the app all necessary permissions.
2. Connect the Silo Device to Your Home Wi-Fi
- Select your home Wi-Fi network when prompted in the app.
- Enter your Wi-Fi password and continue.
- The app will verify your connection, and it may take a moment.
- Once connected to your home Wi-Fi, you’ll receive a confirmation in the app.
Important! Due to a known issue, the Silo device may have trouble connecting to networks whose names or passwords contain spaces or certain special characters. If you experience difficulty connecting to your home network, please refer to our troubleshooting guide.
Note: Silo only works with 2.4 GHz Wi-Fi networks, so ensure your selected network is compatible.
Note: Silo does not support WPA3 Wi-Fi encryption. We recommend using only WPA2
3. Sync with Amazon and Alexa (3-Step Process)
There are three stages of syncing with Amazon to ensure your Silo device is fully operational with its Alexa integration.
a. Create or Connect Silo Account with Amazon
-
In the app, select “Sign up with Amazon” to create or log into your Silo account.
-
A browser window will pop up asking for your Amazon login details. Enter them and follow the prompts.
Once connected, the app will confirm that your Silo account is linked.
Note: If you are setting up a new Silo device, or a device following a factory reset, select “Sign up with Amazon” as you would in a fresh setup. You will be connected with your existing Silo account.
b. Pair Silo with Alexa
-
Sign in to Amazon again to connect Silo with Alexa. A pairing code will be displayed on the Silo device screen and will automatically be copied to your smartphone’s clipboard.
-
Paste the pairing code when prompted in the Amazon window, or manually type it from your Silo display.

-
After seeing the "Success!" message from Amazon, close the window manually to return to the Silo app.

c. Enable the Silo Skill for Voice Control
-
In the app, you’ll be prompted to enable the Silo skill for Alexa. This skill is essential to enable food labeling and freshness tracking via voice commands.
-
Sign in using Amazon when prompted, and allow permissions to complete the setup.
Once enabled, you’re ready to control the freshness of your food just by asking Alexa!
Once each step above is successfully completed, your Silo device is now fully operational with your home Wi-Fi, Amazon account, and Alexa skill.
Note: If a software update is available for your device, it will be downloaded in the background and installed automatically. Your Silo may restart to complete the update process.
You're all set! Your Silo system is ready to help you simplify food storage and keep things fresh.


