-

Getting Started 5
-

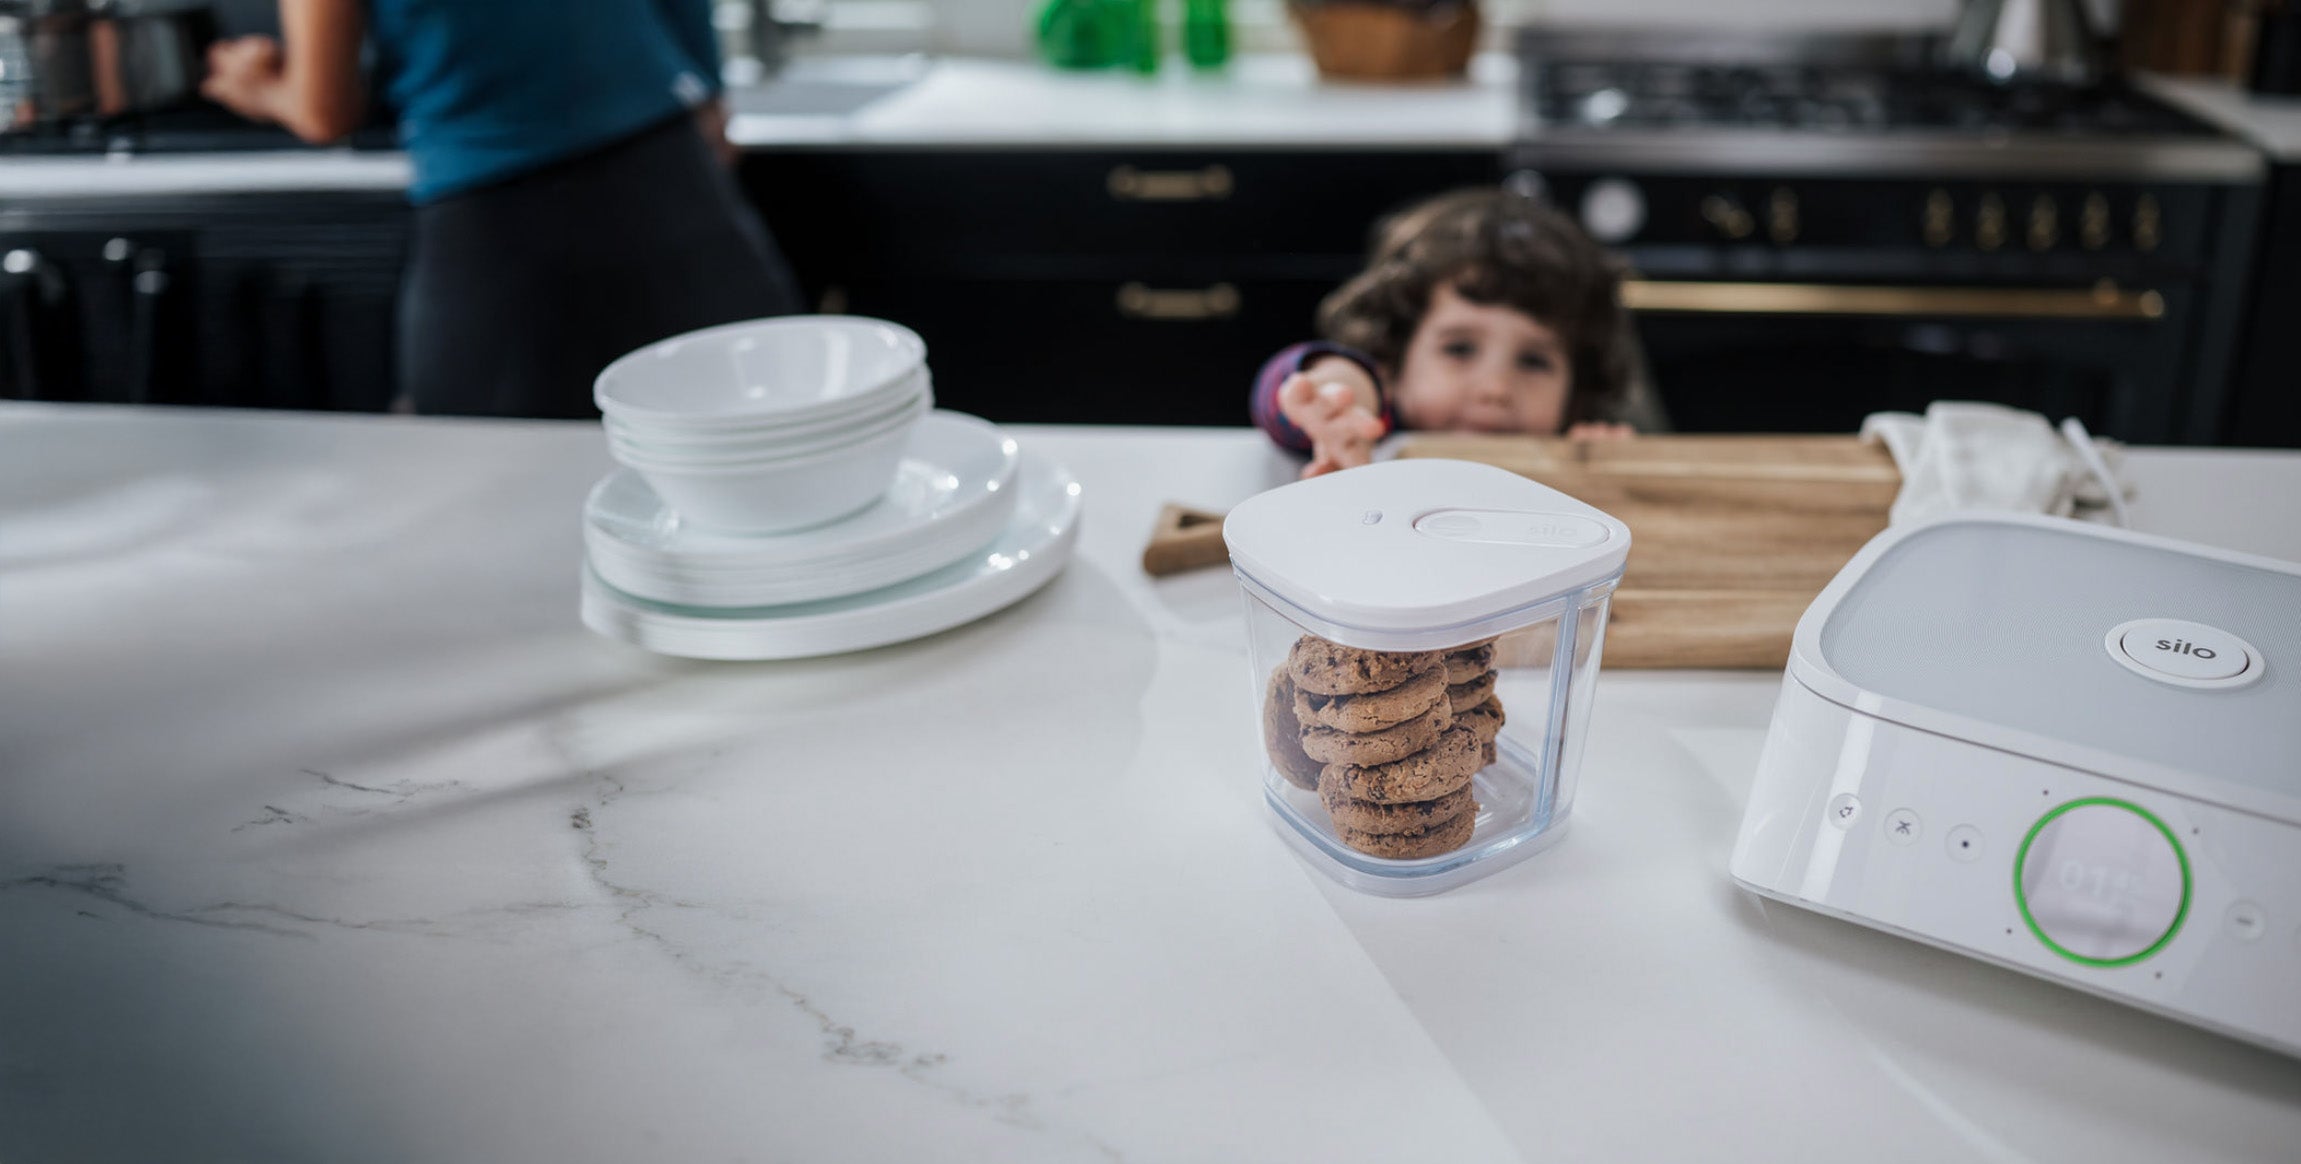
Silo Device 7
-

Silo Containers 2
-

Built-in Alexa 2
-

Technical Support & Troubleshooting 7
Setting Up Silo Using a Temporary Network

What’s the Issue? Why Use a Temporary Network?
Every home network is a little different. If you’re seeing connection errors during Silo setup, you might have:
- A Wi-Fi name (SSID) or password that includes spaces or special characters - Your Silo’s current software can’t always handle these (yet).
- Home network settings (advanced firewalls, certain dual-band routers or split subnetworks) that make it tough for your Silo device and phone to “see” each other during setup.
- Network features (like WPA3 security) that aren’t supported with your current Silo's software.
Why the workaround? Silo’s software team is on it, and many fixes are included in the latest updates. But to download those updates, Silo first needs a working internet connection. That’s where a temporary network comes in.
If you’re technical: If you’re comfortable handling router settings, you could create a dedicated “Silo” Wi-Fi on your network or temporary adjust your main Wi-Fi’s settings, which should solve most connectivity issues .
For most folks, using a phone’s hotspot is quicker and easier, and it won’t disrupt your home.
Step-by-Step: Setting Up Silo with a Temporary Network
Stuff you’ll need:
- Your Silo device
- Two smartphones: one for running the Silo app, one for creating the hotspot
- Reset Your Silo Device
To start fresh, reset your Silo:
- Unplug your device from power.
- Wait 5 seconds.
- Plug it back in.
- The light ring should turn solid orange - Now you’re good to go.
- If the light ring does not turn solid orange, factory reset the Silo base.
- Create a Temporary Wi-Fi Hotspot
On your second phone (not the one with the Silo app):
- Open your Hotspot/Personal Hotspot settings.
- Set the hotspot name and password. Be sure to use only letters and numbers (no spaces or special characters!) and to have it set to 2.4GHz band.
- Turn on the hotspot.
If you're using an iPhone:
The hotspot name is the same as your phone’s name.To change it, go to Settings > General > About > Name, and make sure it uses only letters and numbers.
Next, go to Settings > Personal Hotspot > Maximize Compatibility and turn it on. This forces the hotspot to use 2.4GHz, which is required for Silo to connect.
- Prepare Your Primary Phone
- Make sure Wi-Fi is ON.
- Connect your phone (the one with the Silo app) to the new hotspot you just created.
- Set Up Silo Using the App
- Launch the Silo app.
- If you're not seeing the Silo instruction screens, simply remove and download the app again.
- Follow the on-screen instructions as if you’re doing a normal setup.
- For iPhones: When prompted, connect to the “Silo_XXXX” Wi-Fi network in your phone’s settings, then return to the app.
- For Android: The app will do this step automatically.
- When the app asks you to select a Wi-Fi network for the Silo, choose your phone’s temporary hotspot and enter the password.
- Continue with setup as usual, including connecting to Amazon and Alexa when prompted.
- Let Silo Update Itself
- After setup, keep your Silo plugged in and connected to the hotspot - don’t turn off the hotspot yet!
- Silo will automatically check for updates. This may take a few minutes.
- The device will restart by itself, and the screen will show when setup is complete.
- Once updated, your Silo is ready for your real home network.
- Switch Silo Back to Your Home Network
- In the Silo app, go to device settings and choose “Change Wi-Fi Network.”
- Press and hold the label and minus button on your Silo to start network change mode.
- Follow app prompts to connect to the device and select your real home Wi-Fi network.
- Enter the Wi-Fi password and complete the connection.
- Turn Off the Temporary Hotspot
- You can now disable the hotspot on your second phone.
You did it! Your Silo is now running the latest software and connected on your terms, ready to keep your food fresher, longer.
Still stuck? Our team is always here to help. Check out other troubleshooting guides or reach out for hands-on support. Ask Silo's Virtual Assistant to help you issue a support ticket.